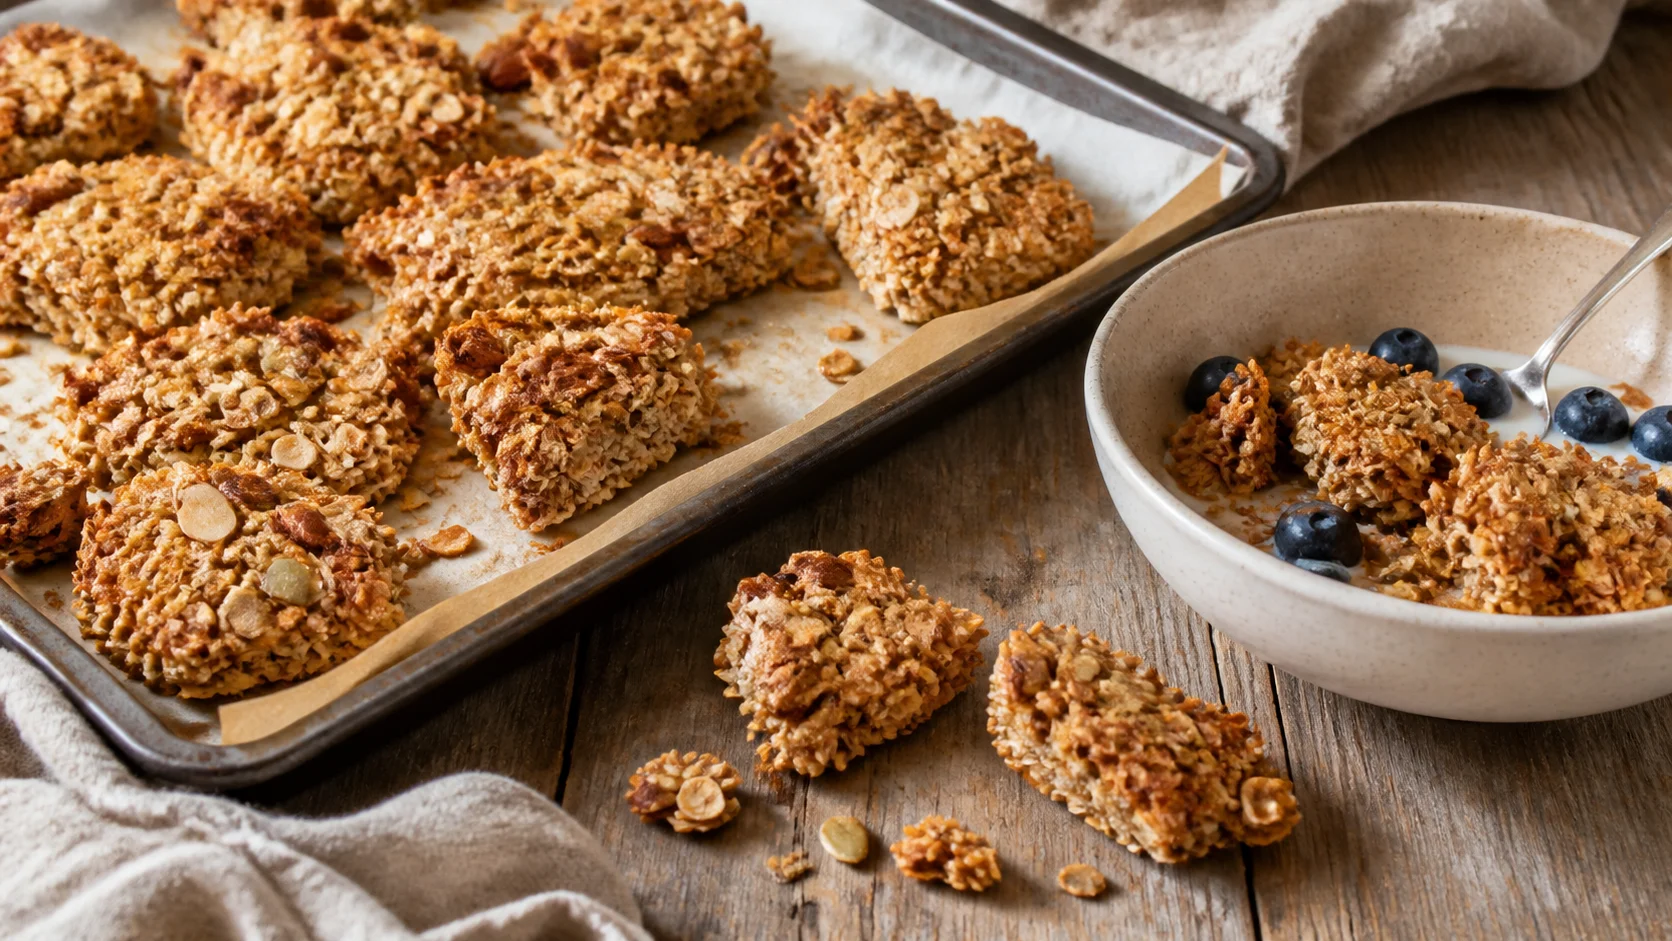
A chunky granola is not born from a secret ingredient. It appears when the flakes, nuts and binder form a compact plate that bakes like a cookie, then cools undisturbed. The texture is built at each stage: choice of flakes, humidity, pressure, temperature, time and cooling. Here is a reproducible method, with useful corrections when everything ends up in pieces.
- Homemade granola
- Large pieces
- Clusters
- Oat flakes
- Cooking
- Crispy
- Breakfast
Why some granolas stay in crumbs
Large pieces require three things: a sufficient contact surface between the ingredients, a binder distributed throughout and a structure that hardens as it cools. If the nuts are ground to dust, they absorb the syrup. If the mixture is too dry, the flakes will not stick. If you move the plate during cooking or before it is cold, you break the structure before it sets.
Sugar is therefore not the only one responsible. Honey or syrup provides adhesion, oil promotes even cooking and a little compote or egg white can strengthen cohesion. The pressure then transforms the loose mixture into a continuous layer. The oven removes the water; cooling makes this layer brittle and crispy.
A balanced formula, easy to remember
| Family | Quantity | Role | E xamples |
|---|---|---|---|
| Flakes | 300 g | Main structure | oats, spelt |
| Nuts and seeds | 120 g | Texture and flavor | almonds, walnuts, squash, sunflower |
| Syrup | 70 to 90 g | Adhesion and coloring | honey, maple |
| Oil | 40 to 50 g | Coating and crispy | neutral oil, sweet olive |
| Reinforcement optional | 30 g | Cohesion | unsweetened compote or egg white |
| Seasoning | with taste | Balance | salt, cinnamon, vanilla |
Thick flakes produce a sharper structure than instant flakes. Cut the nuts roughly: pieces of different sizes fill the spaces without absorbing all the binder. A pinch of salt is essential, even in a sweet version, because it makes the aromas more readable.
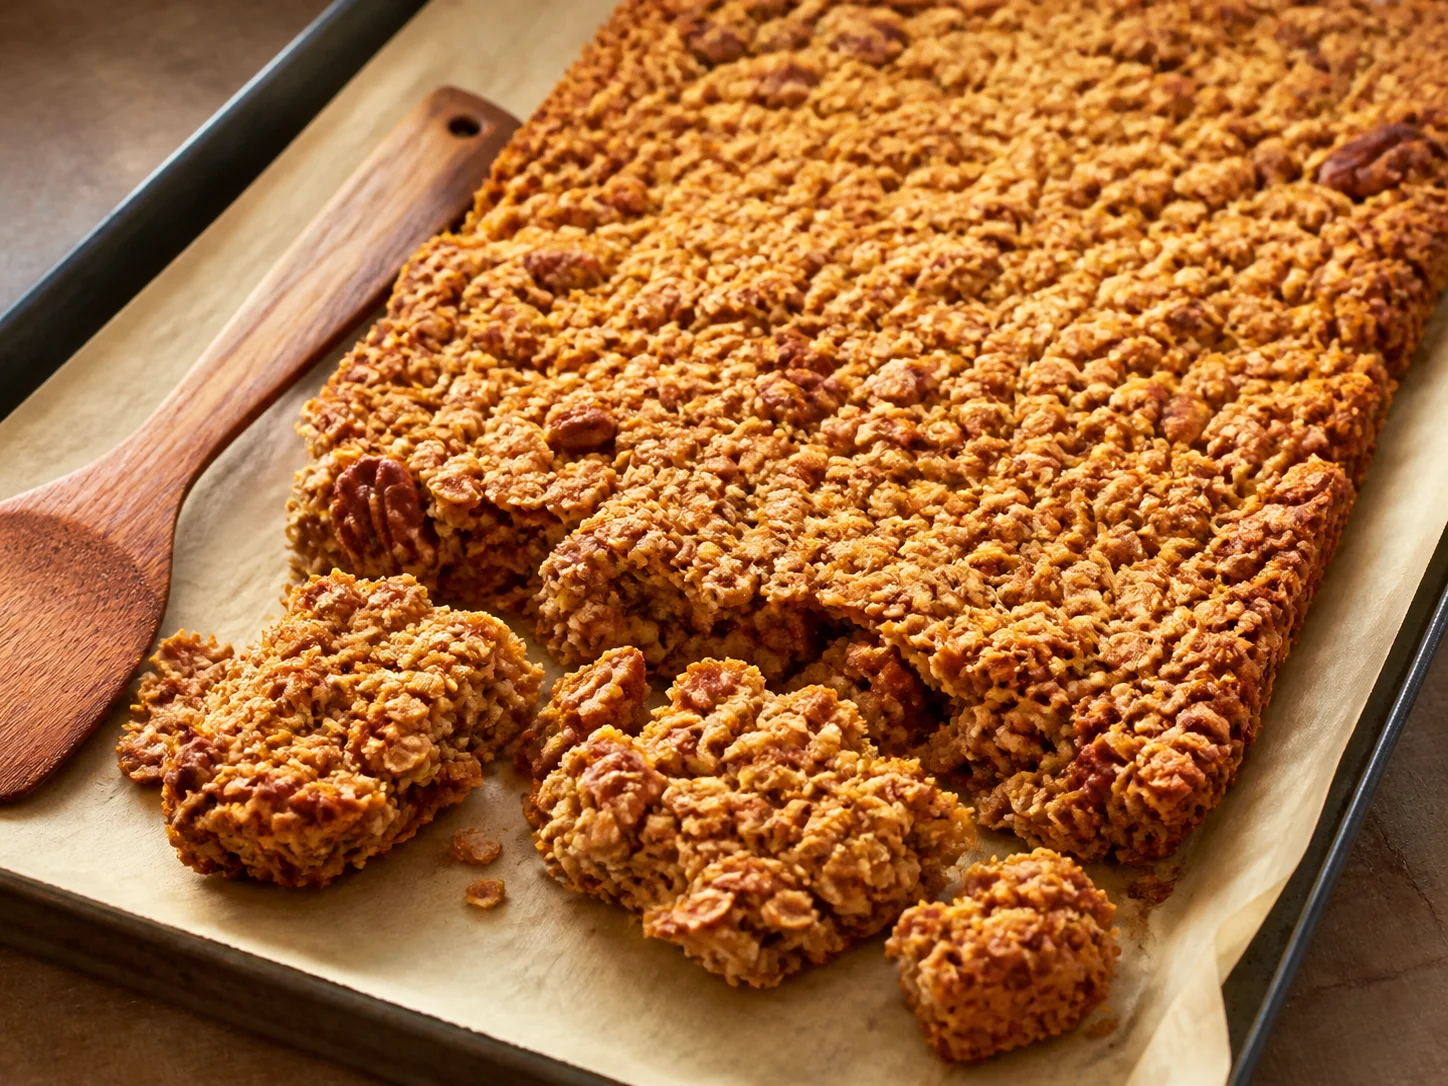
The complete method, from salad bowl to jar
- Prepare the baking tray. Heat the oven to 150°C with fan or 160°C with static heat and cover a large baking tray with baking paper.
- Mix the dry matter. Spread out the flakes, nuts, seeds, spices and salt before adding the liquid. The nuts must remain visible.
- Warm the binder. Gently mix the oil and syrup to thin them, without boiling them. Add the compote or egg white off the heat.
- Coat completely. Pour in the liquid and stir until no area appears floury. Each flake should shine slightly.
- Spread and press. Form an even layer of about one centimeter. Press with the back of a spatula, especially at the edges.
- Cook without stirring. Only turn the baking sheet halfway through cooking if the oven browns unevenly.
- Cool without touching. Place the baking sheet on a rack for at least forty-five minutes.
- Break and garnish. Form the pieces by hand, then add chocolate, dried fruit or already toasted coconut.
Read cooking rather than just following the timer
The plate is ready when the surface is golden, the edges slightly darker and the kitchen is fragrant without the smell of burnt nuts. It still seems soft when it comes out of the oven: this is normal. Looking for crunch when hot often leads to prolonged cooking until it becomes bitter.
Why not stir?
Stirring creates lots of small pieces because each pass of the spatula cuts the syrup bridges forming. For even coloring, rotate the entire plate. If your oven gets very hot underneath, place a second empty baking tray under the first.
Change the taste without breaking the structure
Almonds, orange zest, cinnamon and honey. Add the candied zest after cooling.
Coarse pistachios, sesame seeds and dried figs added cold.
Cocoa in the dry mixture and crushed chocolate only when the plate is cold.
Reduce the syrup moderately and use egg white to keep the cohesion.
Pumpkin and sunflower seeds, coconut and sesame; always check for allergic constraints.
Less syrup, olive oil, paprika and seeds to accompany soups and salads.
Fresh fruit does not go into the jar: their water softens the whole thing. Serve them at the last moment. Dried fruit can burn and harden in the oven; incorporate them after cooling. The chocolate must wait until the plate is cold to remain shards.
Diagnose and correct failures
| Problem | Probable cause | Solution |
|---|---|---|
| Soft granola | Short cooking, layer too thick or storage lukewarm | dry for 10 minutes at 130°C then cool completely |
| No large pieces | mixture too dry, pressed little or stirred hot | add a little binder and compact more |
| Burnt edges | irregular layer or high temperature | even out the edges and reduce by 10 to 15°C |
| Taste bitter | walnuts too thin or syrup too colored | cut larger and remove from the plate earlier |
| Oily texture | excessive oil or poor coating | reduce slightly oil and mix for longer |
| Pieces too hard | excess syrup or prolonged cooking | reduce the binder and monitor the coloring |
Keep the crunch until the last piece
- Wait for complete cooling before closing the jar.
- Use an airtight container placed in a dry, cool cupboard.
- Serve with a dry spoon so as not to introduce humidity.
- Keep fresh fruit and yogurt separate until ready to eat.
- Divide a large batch into two jars so that the reserve remains closed.
In good conditions, granola generally retains its best texture for three to four weeks. If the smell of nuts becomes acrid, waxy or unusual, do not mask the defect with spices: the fats have probably gone rancid.
Frequently asked questions
Why isn't my granola crispy when it comes out of the oven?
The baking tray hardens especially as it cools. Leave it intact for at least forty-five minutes before judging the texture.
Can we completely eliminate the sugar?
The syrup can be reduced, but it contributes to cohesion and coloring. An egg white or compote helps, without producing exactly the same result.
Should you use baking paper?
It makes it easier to unmold the tray without breaking it prematurely. A baking mat may also be suitable if it supports the chosen temperature.
When to add the chocolate chips?
Only when the granola is cold. On a hot plate, they melt and prevent clean pieces from remaining.
Technical references
This method is based on proportion, temperature and cooling tests carried out to obtain a plate reproducible in a domestic oven. Ovens vary: rely on the color, smell and texture after cooling as much as the timer.
Culinary guide updated August 2026.